If you're not sure how to complete some of the tasks you're used to on Windows 10, please follow the guides below.
If you think we've missed something, let us know and we'll include it here to help others.
Click the Windows Start button, then click on the person icon. You can then choose to sign out (previously called log off) or lock the PC.
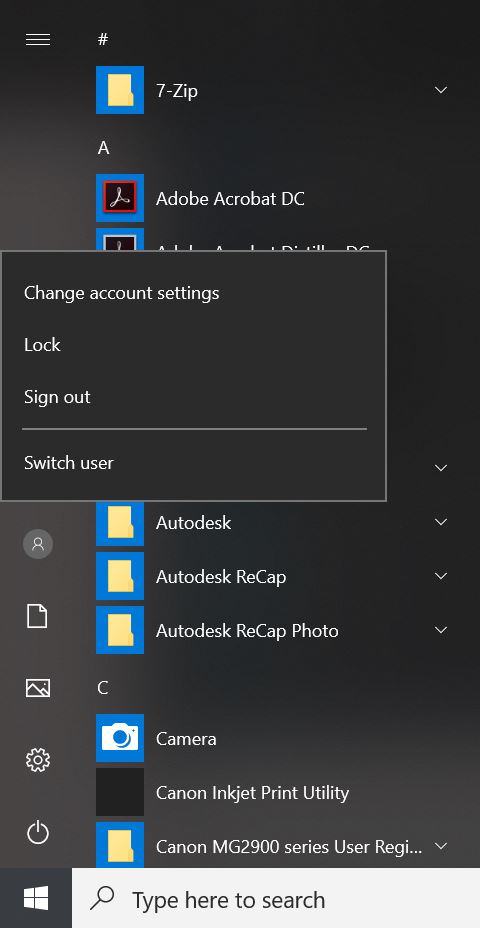
Please note, the keyboard shortcut of Windows key + L can still be used to lock your PC.
If you find another user is logged in to a PC, you can find the 'switch user' button in the bottom left hand corner. Click the button and then log in as normal.
Click the Windows Start button, then click the Power icon. Choose Restart or Shut Down.
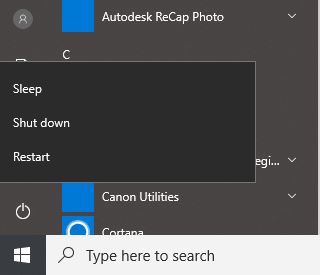
Please be aware that when we apply Windows 10 updates, you'll be prompted to restart your PC within a 5-day period. The PC will restart automatically if the 5-day period has expired, so it's important you don't ignore the prompts.
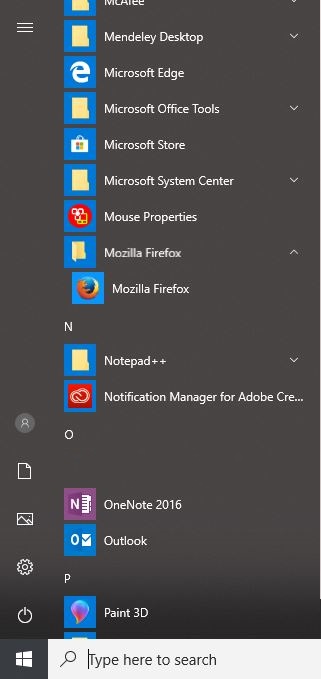
Click the Windows Start button to bring up the list of applications installed on your PC. Click the application you want to open.
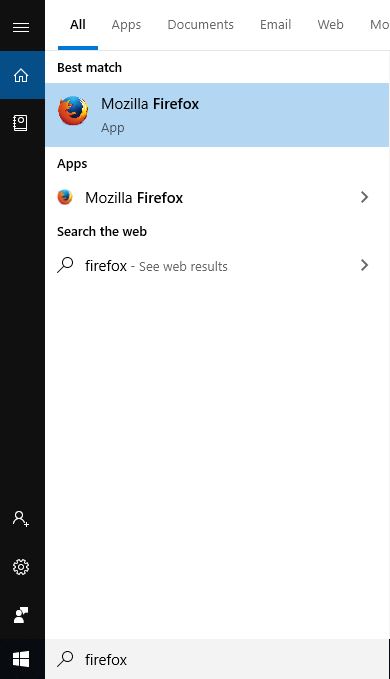
You can also type the name of the application in the 'Type here to search' box and press Enter, or click the application icon.
Click the Windows Start button and then click the Document icon.
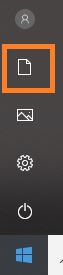
This will open your Documents window in File Explorer. From there you can navigate your folders and files.
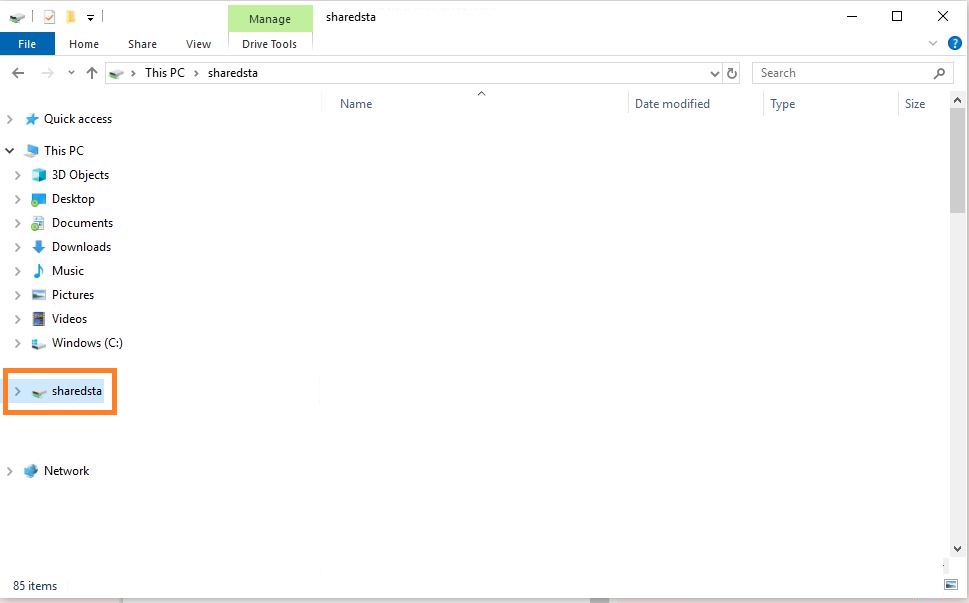
To access the Shared Drive, in File Explorer you will need to click the drive location in the same way as Windows 7.
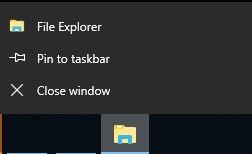
You can pin items and applications you use frequently to the taskbar. Right-click on the icon and choose Pin to taskbar.
In the example below, File Explorer has been pinned to the taskbar to make accessing documents easier.
Office 365 is integrated with Windows 10 and this includes the OneDrive client. Follow the guide below to sign in to OneDrive and make it easier to save and sync files across your devices.
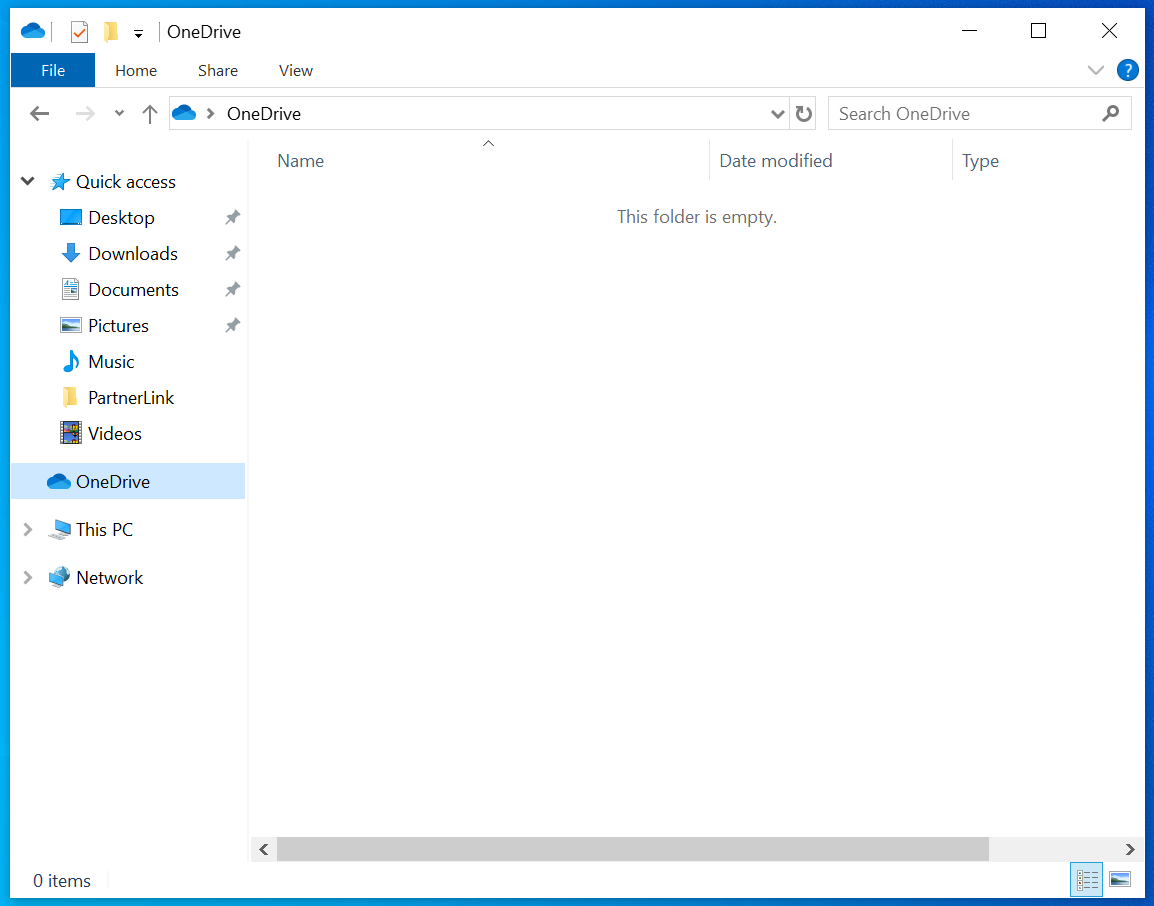
Open File Explorer (you can find guidance on opening File Explorer and how to pin this to your taskbar above).

Select OneDrive from the list on the left-hand side
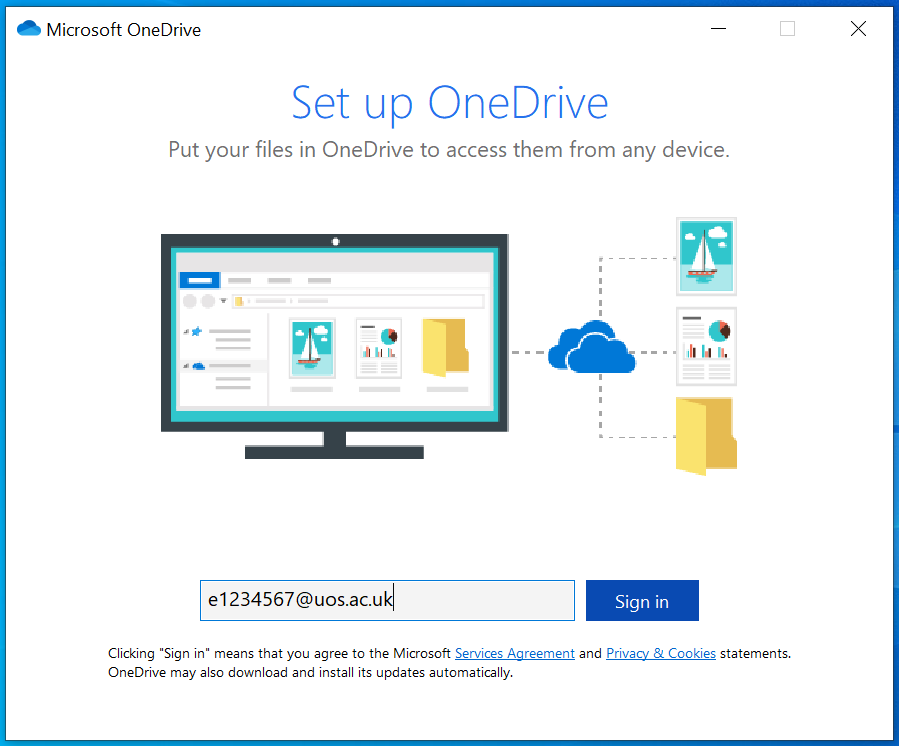
You will now need to enter your University of Suffolk e-mail address. This will need to be in the format of your 'e' number followed by @uos.ac.uk (for example, e123456@uos.ac.uk) and then click Sign In.
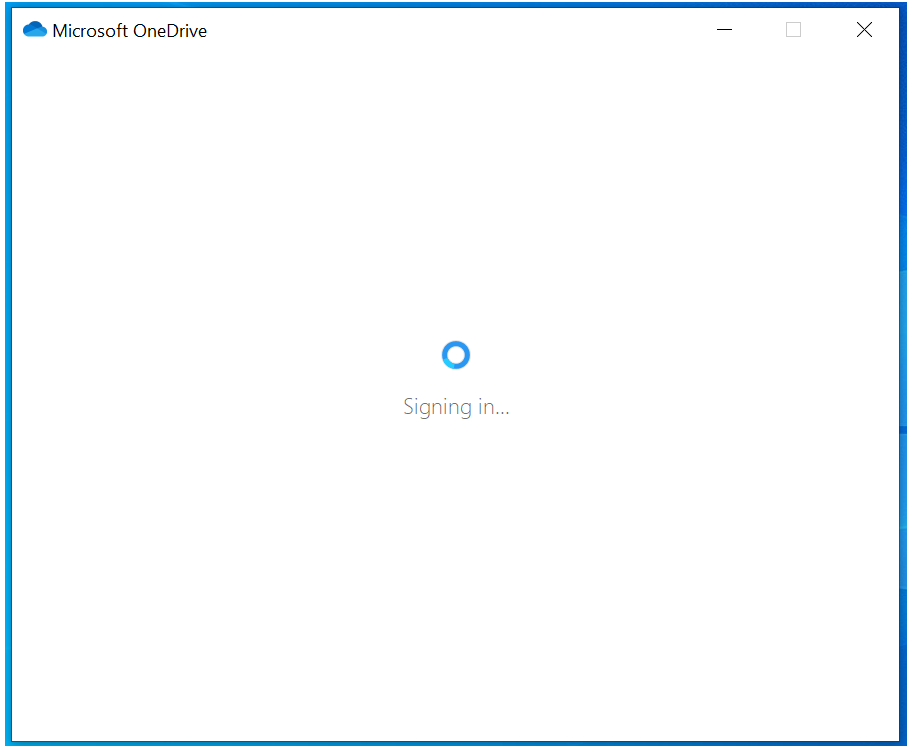
You'll be signed in. It may take a few moments for this to complete.
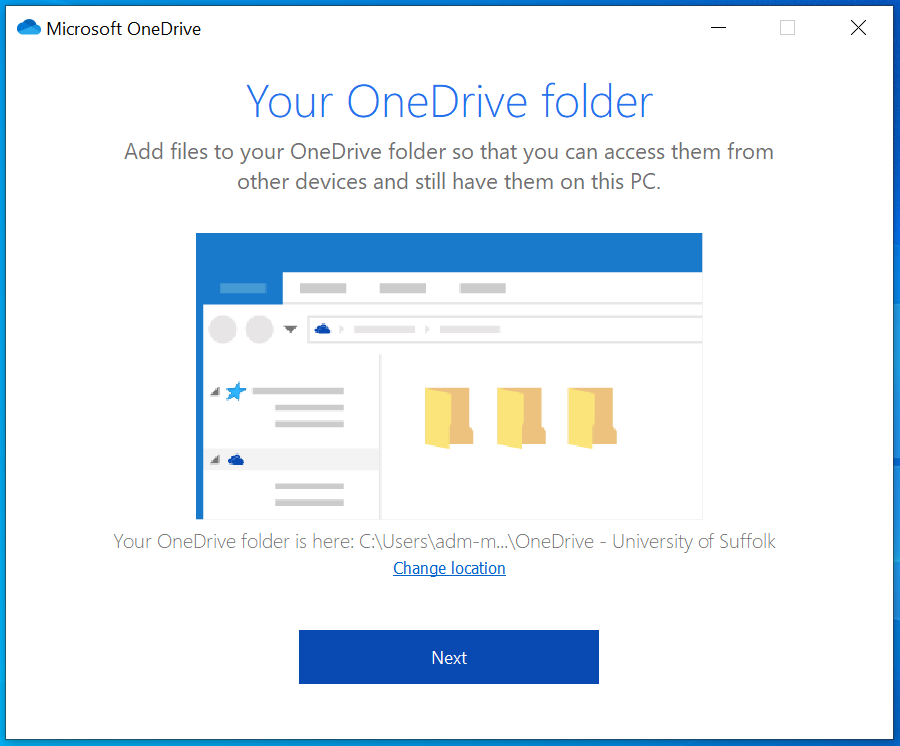
You will now be asked if you’d like to change the default location for your OneDrive sync. Please leave this as the default setting.
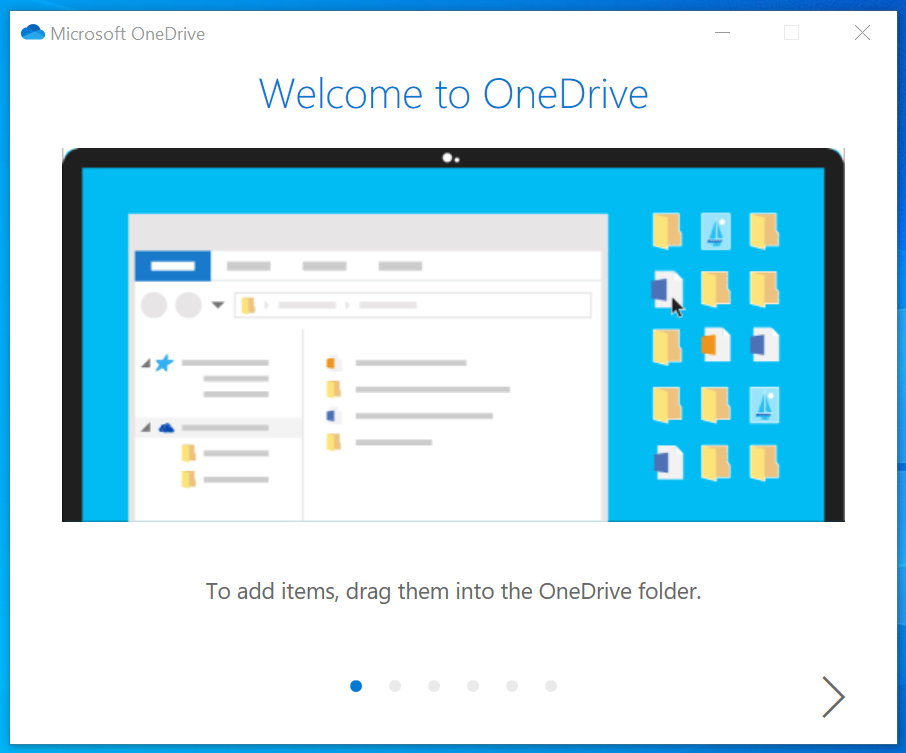
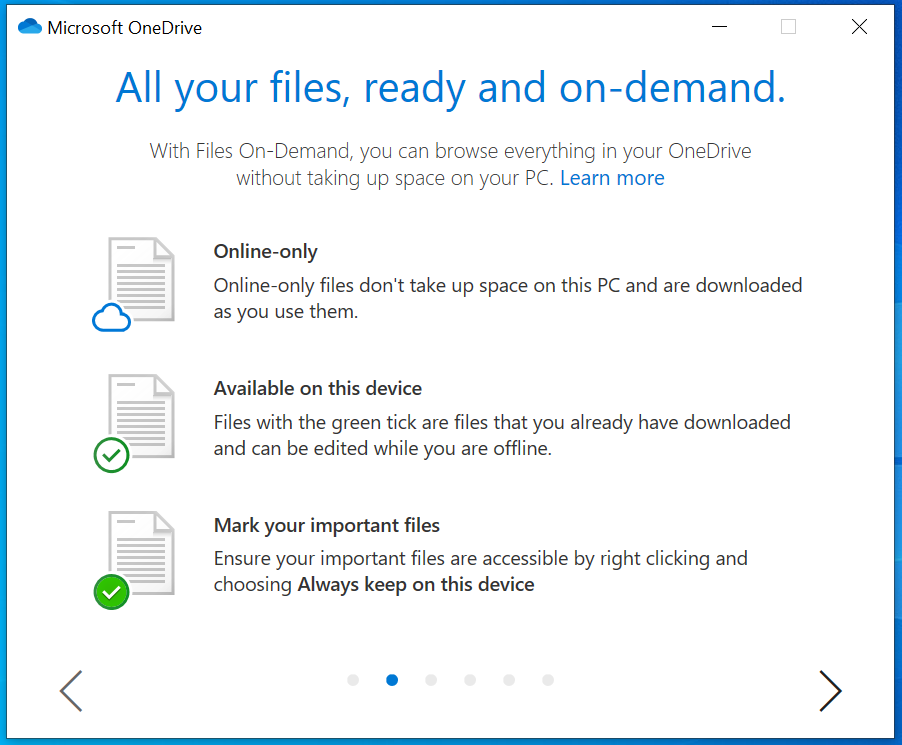
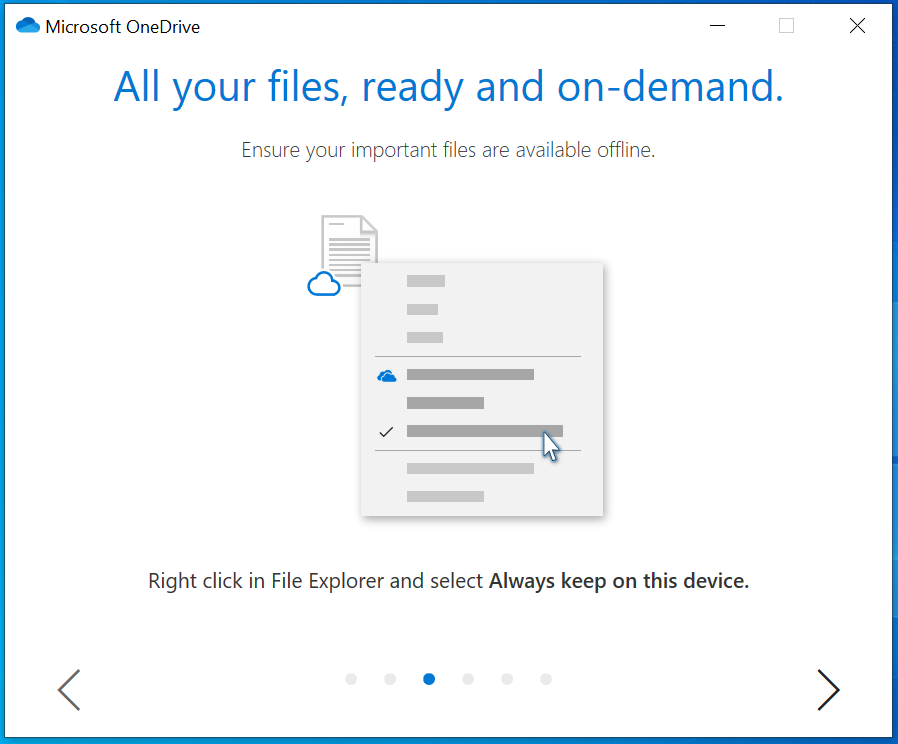
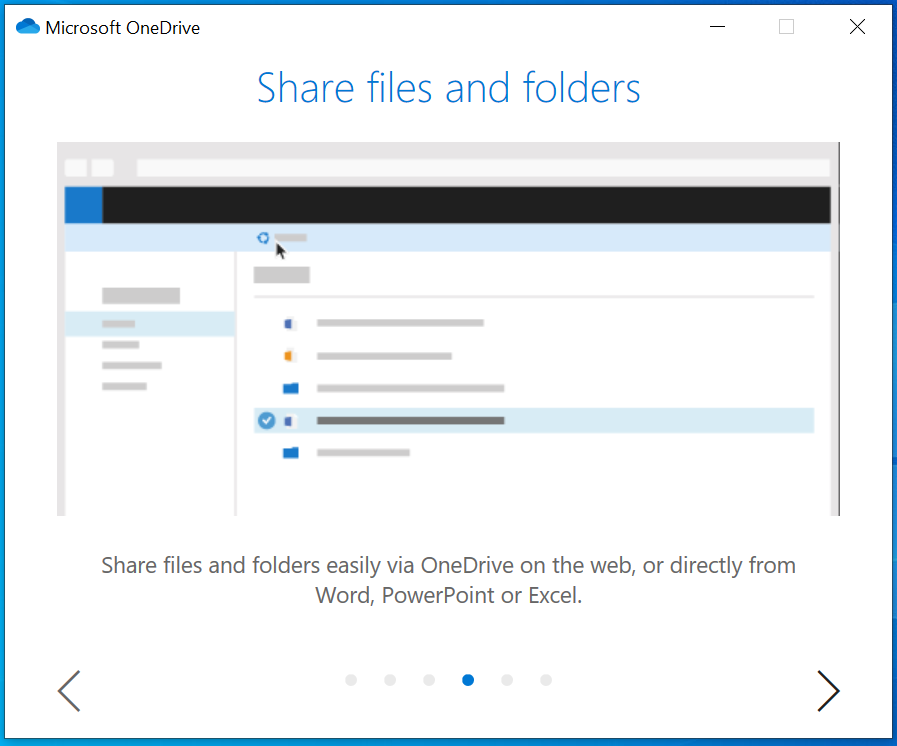
You will now need to use the arrow in the bottom right-hand corner to step through the introduction wizard.
Please note: the OneDrive app on your mobile is optional.
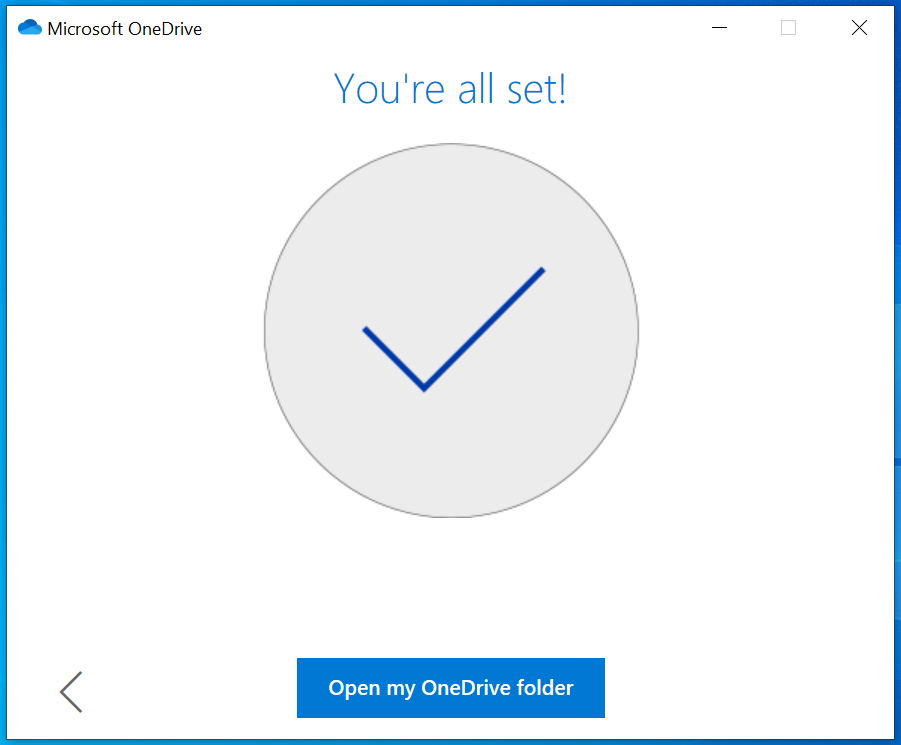
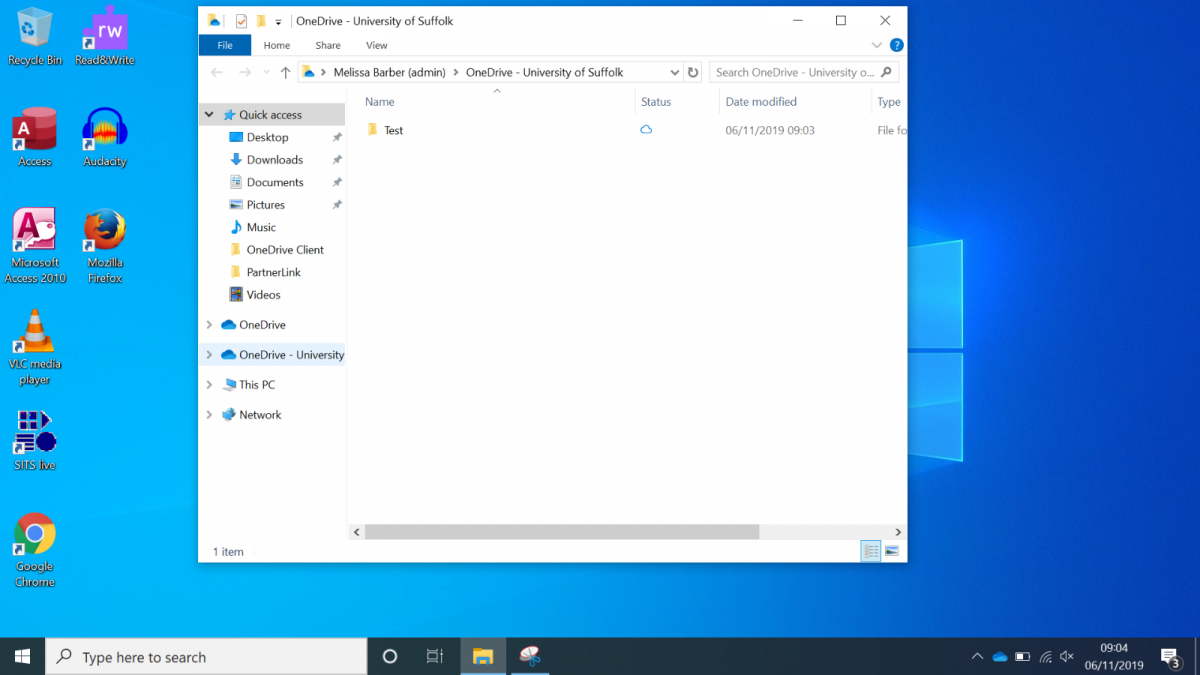
You will now see the message “You’re all set!” Select “Open my OneDrive folder”.
File Explorer will now open and your OneDrive folders/files will appear.
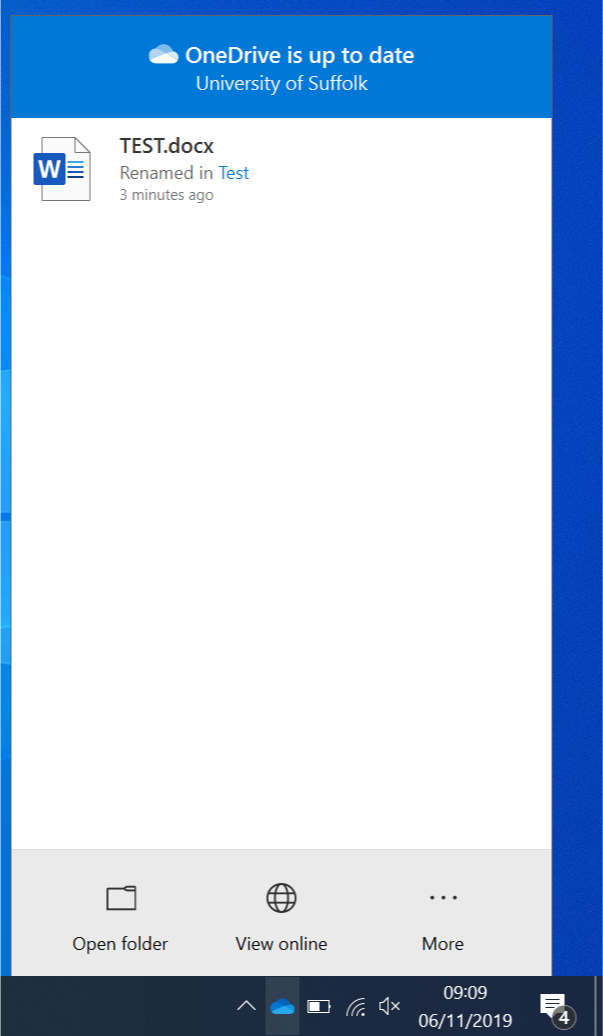
You will also see that in the bottom right-hand corner of your screen, a blue cloud icon for OneDrive will appear. You can use this as quick access to your OneDrive files and folders. When you click on the blue cloud, the below should appear.
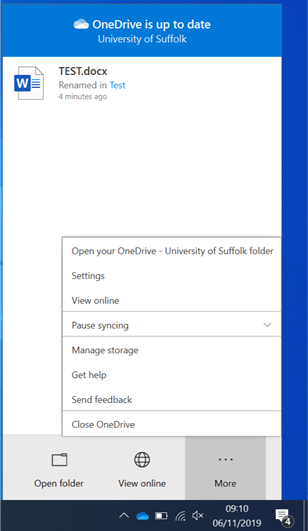
Whilst in this view, you can click on the “More…” tab which gives you further options related to your OneDrive settings.
If you previously had items pinned to the Quick Access menu in Windows 7, you’ll need to add these back in Windows 10.
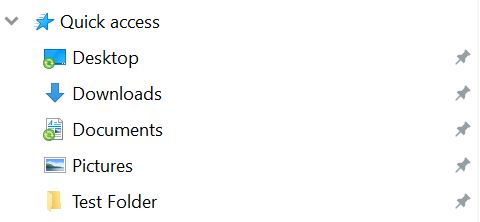
To add a frequently used folder to Quick Access, navigate to the folder in File Explorer. Right-Click on the folder and select Pin to Quick access.
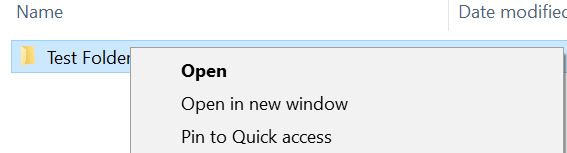
The folder will show in the Quick Access menu whenever you open File Explorer.
If you previously added a shared mailbox to Outlook on Windows 7, you can add this to Outlook in Windows 10 by following the guide below.
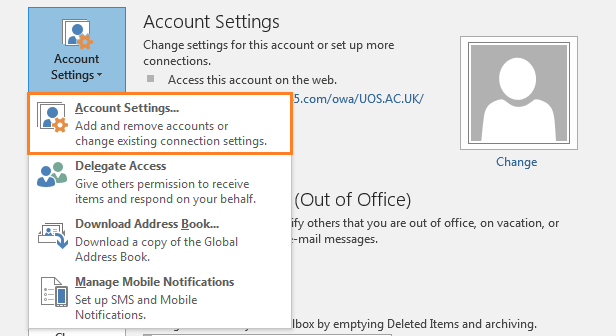
Open Outlook. Click File on the toolbar/ribbon. Click Account Settings and then select Account Settings from the drop-down menu.
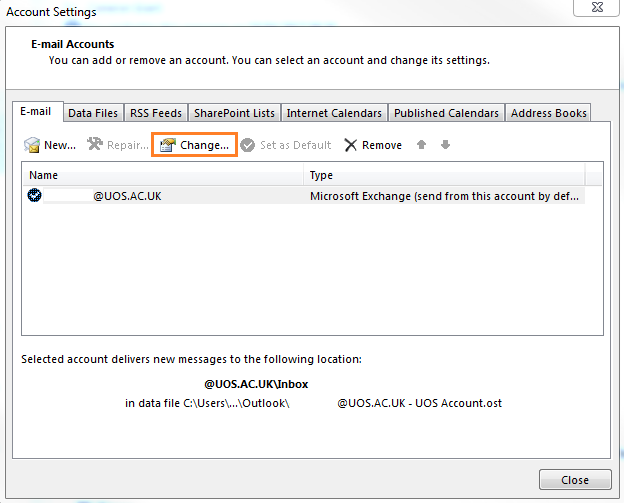
In the Account Settings window, select the E-mail tab. With your mailbox highlighted, click Change.
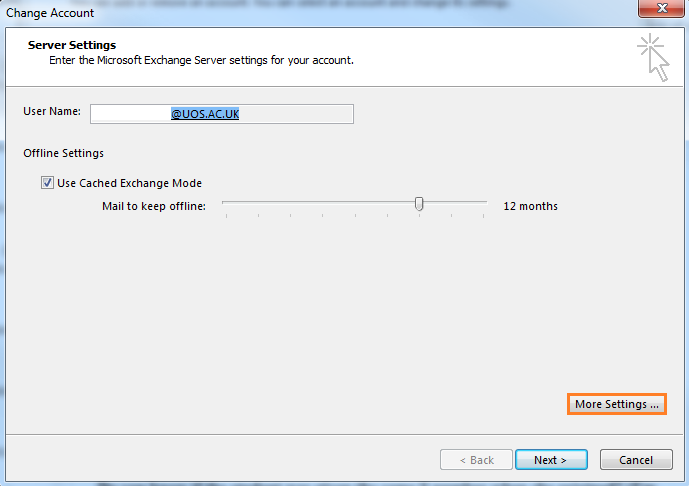
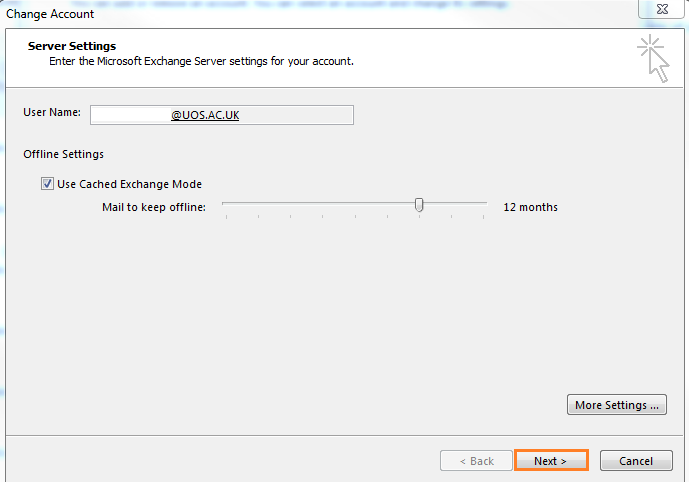
In the Change Account window, click More Settings.
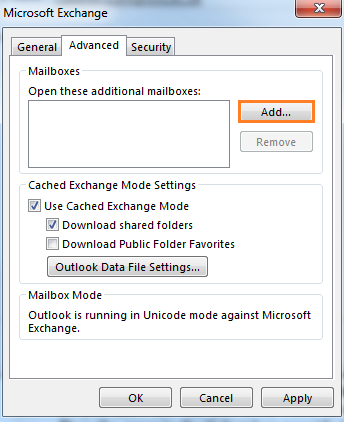
In the window that opens, select the Advanced tab and click on Add.
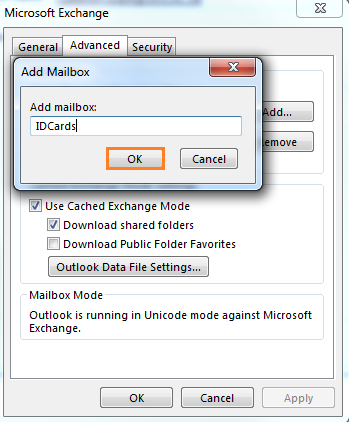
In the window that opens, type the name of the shared mailbox and click OK.
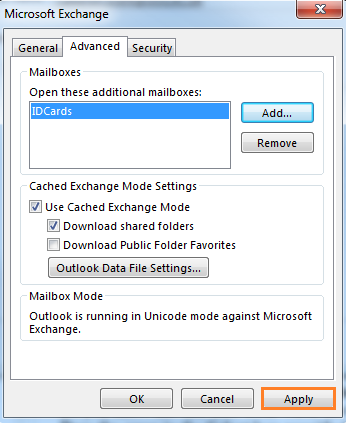
Click Apply.
Click Next.
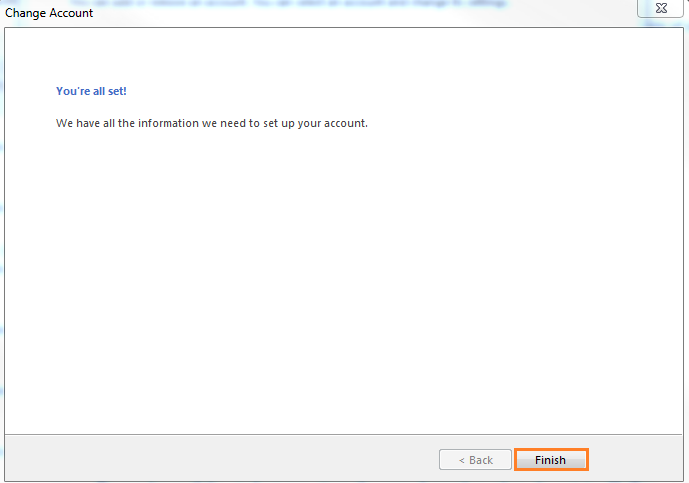
Click Finish.
Click Close on the Account Settings window.
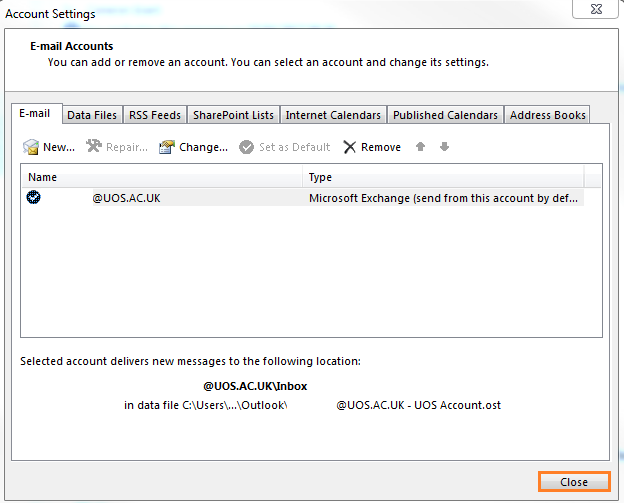
The shared mailbox will show beneath your own Inbox in Outlook.